
Using STL Emboss with the keyboard and a screen reader
The whole page works without a pointer, from opening a model to the download, and every result is spoken with its numbers.
Open a model
The first Tab is “Skip to the tool”, and “Choose a file” opens your STL. When the model opens it is described: its size, its triangles and which faces are flat.
Turn the model
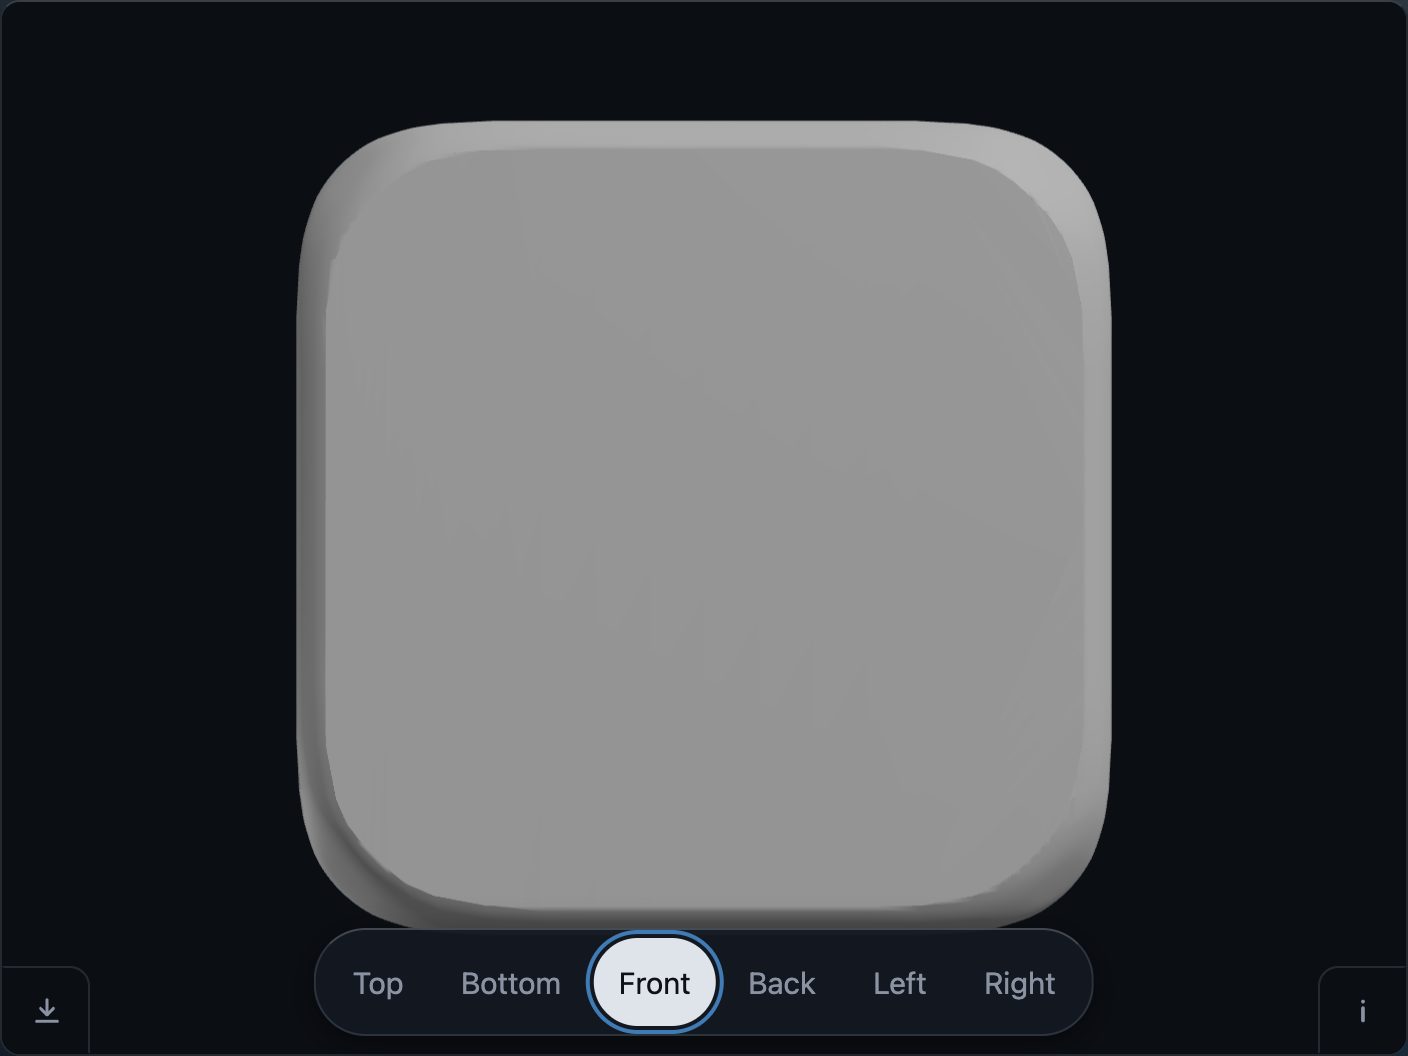
Before a mark is added, a Tab towards the 3D view opens a row of the six faces: Top, Bottom, Front, Back, Left and Right. The arrow keys turn the model to face you. The next Tab is the view itself, where the arrow keys turn it 5° (15° with Shift).
Place a mark
Press “+ Text” and type, or “+ Image” and choose a picture. While the mark is being placed:
- the arrow keys move it 1 mm (5 mm with Shift);
- the square bracket keys, [ and ], turn it 5°;
- Return cuts it;
- Escape throws it away.
The Tab after the words lands on a checkbox, “Write it in Braille”; Space or Return turns the words into Braille. After the cut, the download button saves the new STL.
What is spoken
Where the mark landed, how large it is, what was cut: every result is written to a live region as a full sentence with its numbers, and your own screen reader reads it. The page speaks through your reader, with no voice of its own.
The page has been walked with VoiceOver on a Mac. NVDA and TalkBack get the same names and the same live region, but if yours stumbles, the box under “How do I get in touch?” in the ? card reaches the author, with no account.
Try it on your own modelFree, no account, and your file never leaves your device.
Open STL Emboss