
Emboss or deboss an STL: how to choose the depth
One handle, in millimetres. Below zero the mark is sunk into the model, a deboss. Above zero it stands out of the surface, an emboss.
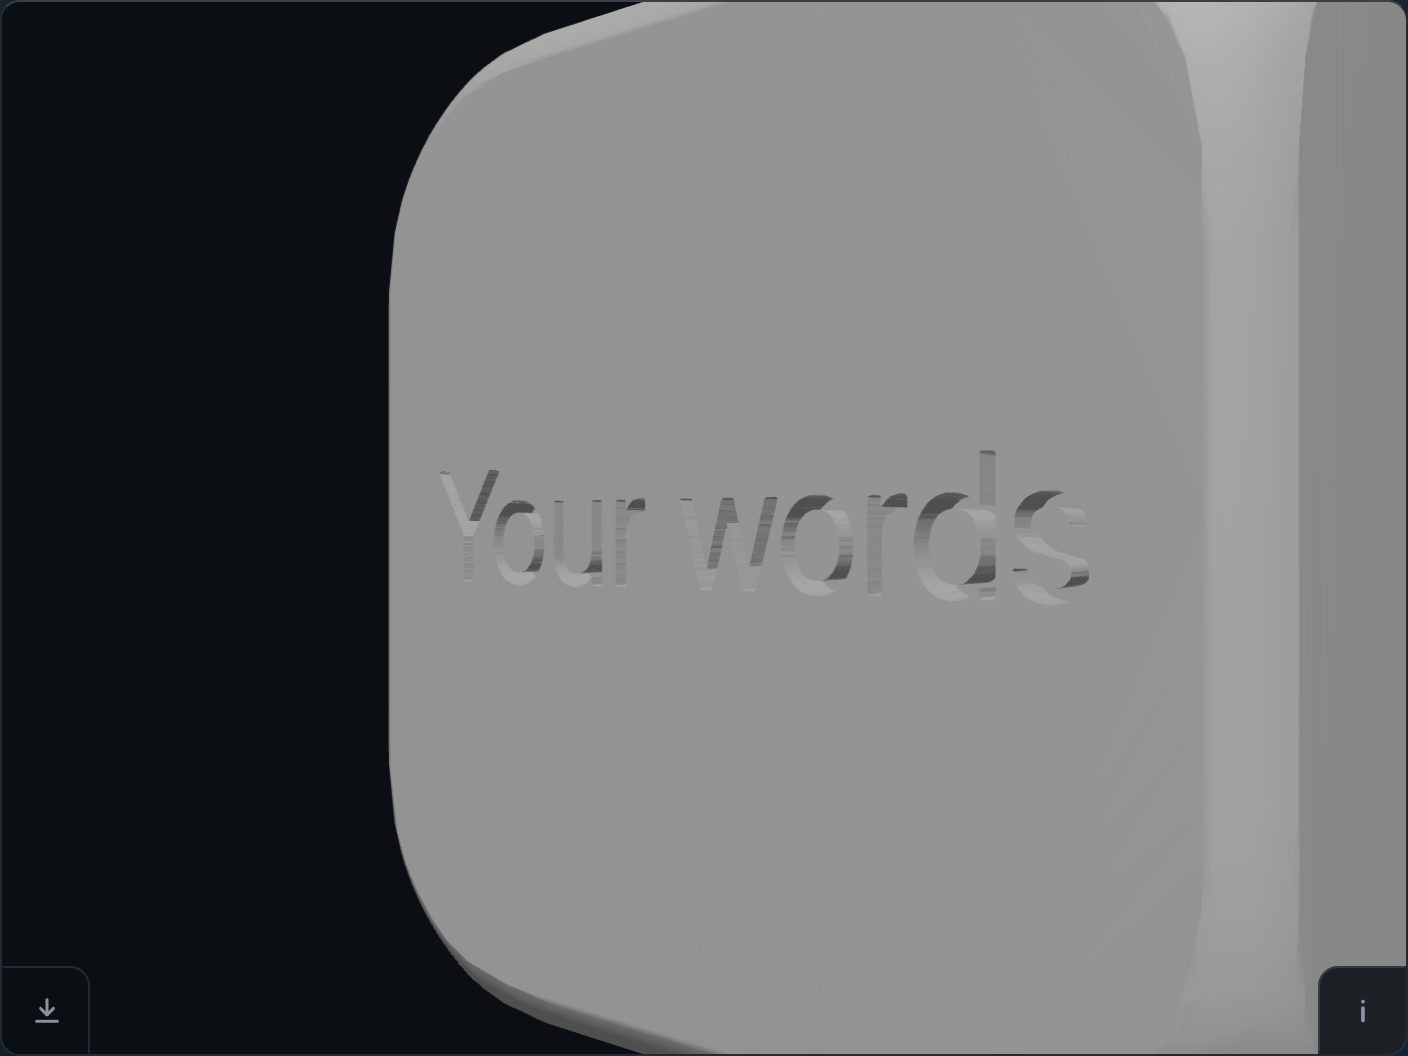
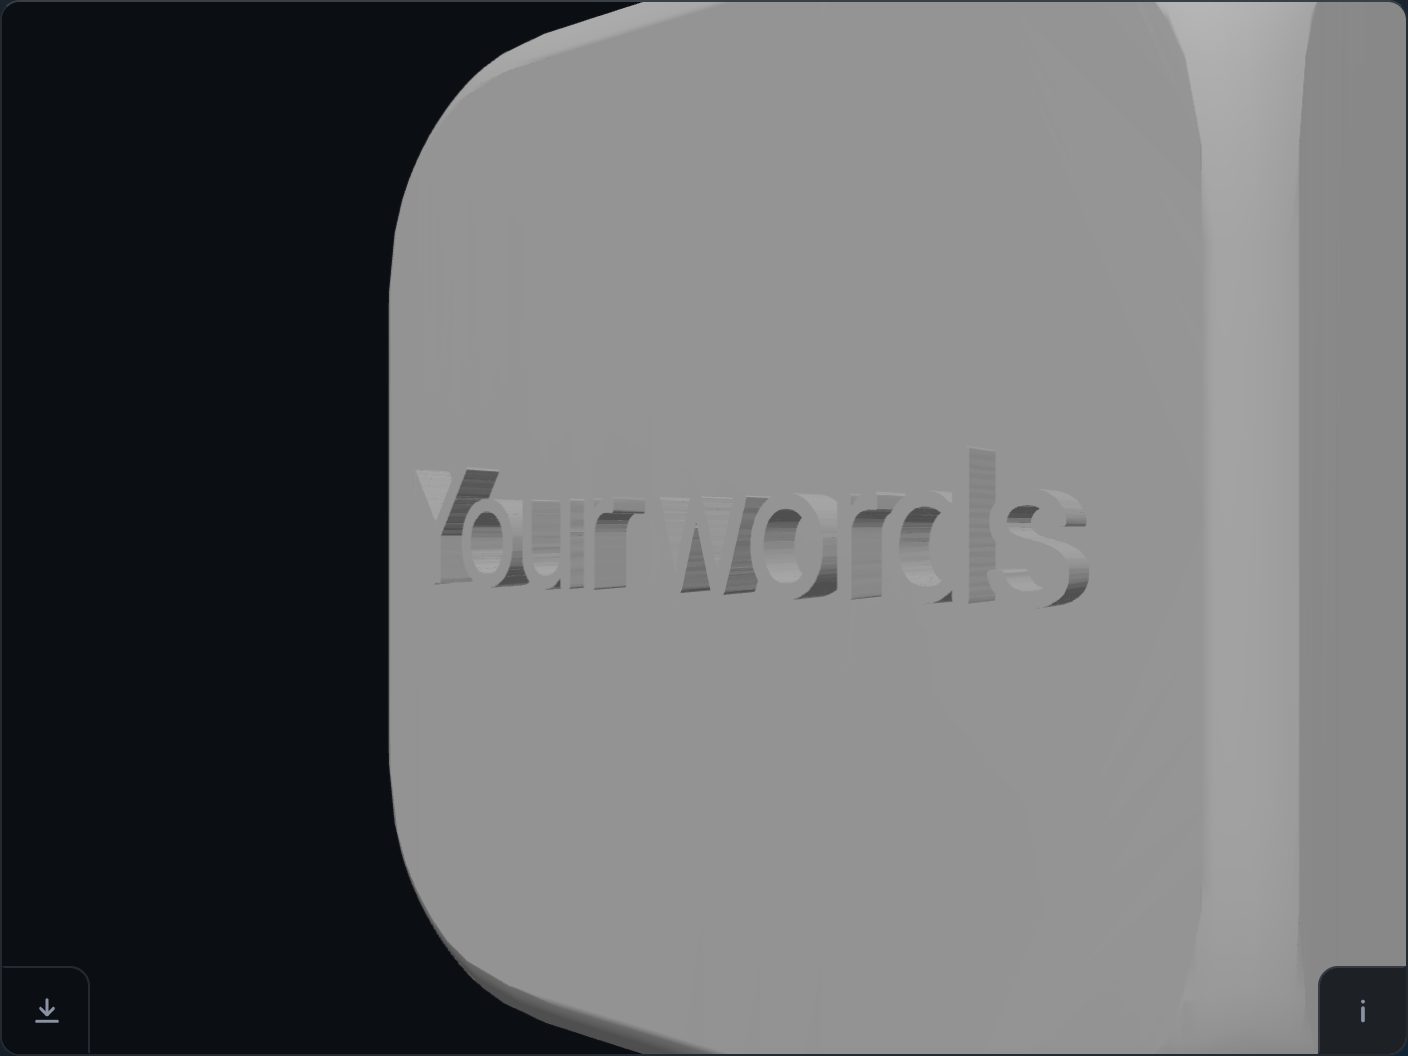
The depth handle
It runs from −5 to +5 mm in steps of 0.1 mm, and it starts at −0.4 mm: sunk two layers deep at a 0.2 mm layer height, enough to read and nothing to knock off. Move it past zero and the same letters stand out of the surface instead. The preview follows before anything is cut.
Which way?
Sink it on the face the model stands on. A raised mark there keeps the model from lying flat on the print bed.
Sink it where things rub. A sunk letter has no edge standing up to catch or to knock off.
Raise it on a thin wall. A mark sunk deeper than the wall under it opens a hole through the wall. On a vase, a cup or anything that holds water, keep a sunk mark well shallower than the wall, or raise it out. More on curved surfaces.
Relief rounds the edge
At 0 % the relief handle gives a flat cut: a flat top and square edges. Above 0 % the edges round off, and the depth handle now means the maximum, reached in the middle of a stroke. A thin stroke stays shallower than a wide one. The i card says what that comes to in millimetres on your mark.
How deep for your printer?
There is no one number: it depends on your nozzle, your layer height and your filament. Two rules hold without a test. Make the depth a whole number of your layers, as −0.4 mm is two layers at 0.2 mm. And a depth smaller than one layer may not show at all.
The slicer's layer preview shows which layers carry the letters, before any plastic is used. Check it before you print — the page is offered as is.
Try it on your own modelFree, no account, and your file never leaves your device.
Open STL Emboss